Photographers try to avoid using a high ISO, but there’s a bit more to it than that. The exposure triangle consists of shutter speed, aperture, and ISO settings. That means there are three ways of adjusting image brightness—with frequent trade-offs.
If you’ve found yourself confused about this photography term, you are in the right place! This article will explain the following:
Let’s get one thing out of the way first. ISO does NOT stand for “International Standards Organization.” There’s no such thing.
The name of the body is the International Organization for Standardization. So it should be “IOS,” if anything.
But the founders wanted an abbreviation that would be the same in different languages. So they opted for “ISO” instead.
The word comes from the Greek word isos, meaning equal. So it should perhaps be “EYE-soh.” But the organization itself never said that. So pronounce it however you like!
So what is ISO? It’s a measure of film sensitivity—the same as the old ASA and DIN film ratings in the days before the advent of digital photography:
The two systems were combined in 1974, and ASA was renamed ISO. That made it much easier to do the math!
Now that digital photography has largely replaced film cameras, the meaning of ISO has changed.
It would be easy to say that it’s the “sensitivity” of the camera’s sensor rather than the film. But that’s not entirely true.
The camera sensor sensitivity doesn’t change when you increase the ISO. A digital camera amplifies the signal to make the image brighter at higher ISO values (and vice versa).
This is helpful when you’re trying to shoot in low-light environments. But it does come at a cost to image quality.
The camera’s “base ISO” is the lowest ISO setting available for the camera’s sensor. It varies by manufacturer, but the standard is 100 (or 64 on some Nikon models like the D850).
There are several benefits to using the lowest ISO:
As a result, it makes sense to keep your ISO down if you can—all other things being equal.
This is important for landscape photographers. They prize high-quality images with an extensive depth of field. But they don’t have to worry too much about movement.
That means they can choose longer shutter speed settings to compensate.
Technology in the photographic industry has evolved, so the higher ISO problem is not as severe as it once was.
First of all, several improvements in camera design have reduced image noise and have even improved its appearance. These include Dual Gain ISO (ISO amplified times two) and a backlit camera sensor.
Secondly, there are now a lot of effective noise reduction programs on the market, such as Topaz Labs’ DeNoise AI and Sharpen AI.
They let you remove any noise during the editing process. And it’s pretty amazing to see the difference.
I guess Arthur C. Clarke was right. “Any sufficiently advanced technology is indistinguishable from magic.”
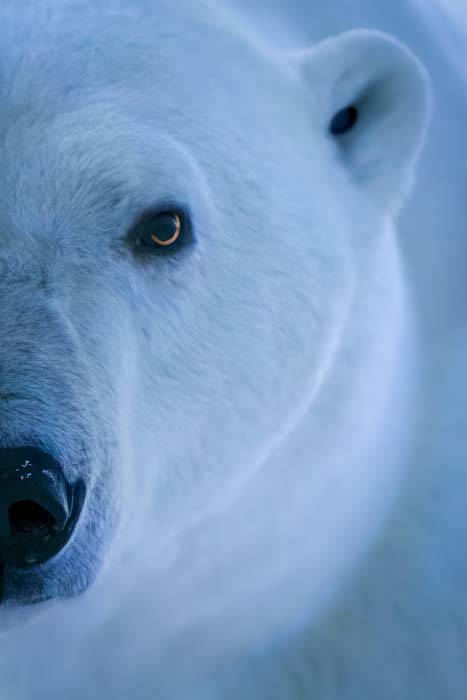
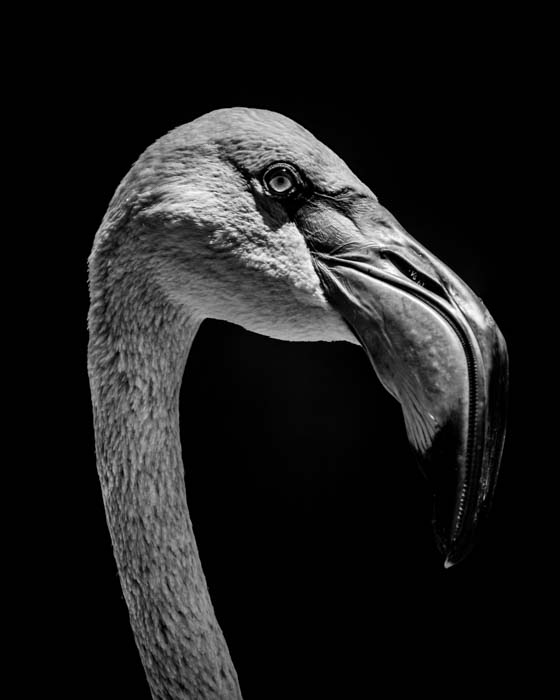
There’s also a software setting to add grain deliberately to achieve a “moody look” and camouflage any remaining noise in high ISO images. This works particularly well in black and white.
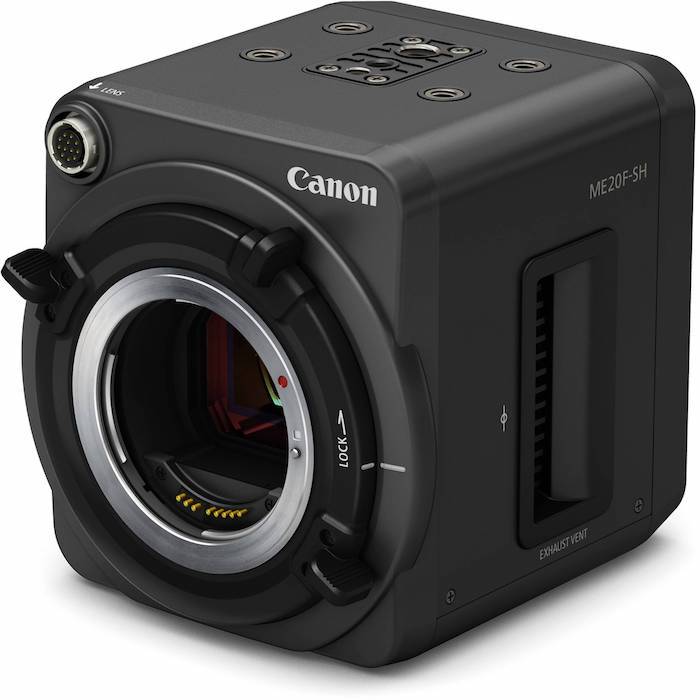
As a result, the highest usable ISO values have increased over time. And the maximum native ISO ranges of modern digital cameras have also increased.
For example, the native ISO range of the Canon ME20F-SH goes up to 4,000,000 ISO!
There are times when you should use high ISO values. Here are five of them.
When it comes to a photograph’s artistic quality, depth of field and motion blur (or camera shake) are far more critical than noise reduction.
So if you face a trade-off involving the exposure triangle, you should compromise on the ISO setting.
That’s why I shoot in Manual mode with auto ISO. I keep complete control over my aperture and shutter speed while the camera adjusts the ISO to match the scene’s brightness.
That means I can choose a narrow aperture like f/16. Or I can use a fast shutter speed like 1/8000 s, without worrying about the exposure.
It’s also essential to capture images of the night sky. To the naked eye, stars might not appear to move.
But you’ll get blurred trails if you expose the image for over 15 seconds. You’ll have to shoot wide open anyway. So the only way of brightening your image is to use a higher ISO.
Of course, the combination of Manual mode with auto ISO only works within a “relevant range” of lighting conditions.
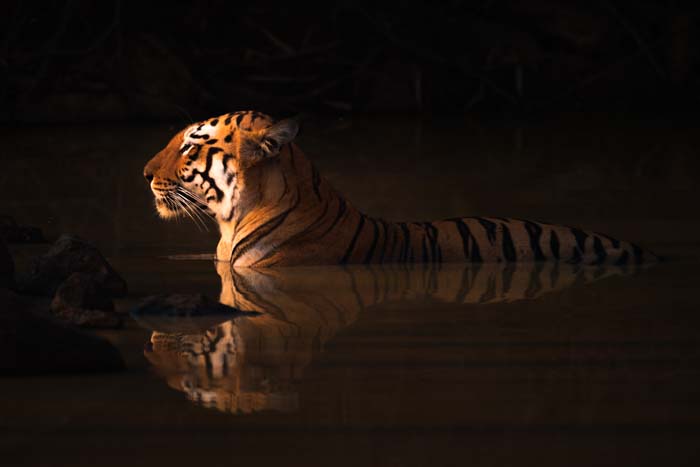
I’m a wildlife photographer. So I take many low-light pictures around sunrise or sunset. If my exposure settings would need a very high ISO, I might compromise by doing the following:
I remember coming back from a boat trip on the Pantanal (wetlands in South America) with Andy Skillen. We’d spent all day photographing jaguars. But it was after sunset and got pretty dark.
There were lots of little bats flying around, and Andy suggested taking a few slow pans to practice our technique.
It was far too dark to “freeze” the bats with a fast shutter speed. But it was an enjoyable challenge trying to get a sharp image at 1/30 s.
One common example of the relative importance of shutter speed over ISO is when you’re using a lens with a long focal length.
The traditional rule of thumb is to choose a shutter speed that’s at least the inverse of your focal length.
In other words, if you’re using a 400mm lens, you should shoot at 1/400 s or faster.
(This works on the full-frame version of the focal length. If you’re using a 300mm lens on a crop sensor camera with a 1.5x crop factor, the slowest shutter speed should be 1/450 s, not 1/300 s.)
With that said, technology has progressed again. Modern cameras with image stabilization can help you shoot sharp images with much slower shutter speeds.
If the benefit is four stops, you could take shots with your 400mm lens at 1/25 s rather than 1/400 s!
Most manufacturers allow you to limit the camera’s ISO range or shutter speed.
If you think images will be too noisy at a given ISO level, the camera will reduce the shutter speed or refuse to take a picture.
The problem with this camera setting is that even a noisy shot is better than no shot.
If you see a cheetah cartwheeling through the air after trying to take down a rhino, the last thing to worry about is noise reduction!
It’s always—always—up to you to decide if you want to take a picture or not. So don’t farm it out to your camera.
Even if it “helpfully” tries to reduce the shutter speed to bring down the ISO, that risks ruining any shot of a moving subject.
Low-light photography needs a higher ISO. Using negative exposure compensation to bring down the ISO and boost the image to the proper exposure in Lightroom is tempting.
That’s a mistake for two reasons:
Imagine taking two low-light images. One is correctly exposed, but you take the other using two stops of negative exposure compensation and then brighten it later.
The noise levels in the first shot will be lower than in the second.
In fact, you can use positive exposure compensation to reduce noise even further. This is called “exposing to the right (ETTR).”
All you have to do is add enough compensation to push the curve to the right-hand side of the camera histogram —without hitting the edge.
Remember not to “clip” the highlights by overexposing too much. Around two-thirds of a stop should be fine.
Afterward, darkening the image slightly in Lightroom should be easy to find the correct exposure level.
Think of it like this—the root cause of image noise is lack of light. It’s also worse in shadow areas. So the more light enters the camera in the first place, the better.
Some camera bodies have better low-light performance than others at the same ISO value.
The best way to determine your highest usable ISO is by taking identical photos at different ISO settings.
You can then compare the noise, dynamic range, sharpness, and color fidelity yourself. You might also want to push the ISO when you’re taking test shots at night.
If you want to take a picture of the night sky, you might have a vague idea of the correct combination of ISO, aperture, and shutter speed. But it’s always a good idea to check.
Say your shutter speed is 30 seconds. Then taking half a dozen test shots from three or four locations would waste 10 to 15 minutes.
That might be too long in changing light conditions at dawn or dusk.
Cranking the ISO to 6,400 or 12,800 would let you reduce the shutter speed to a second. That means the whole process would be much faster.
You often need to make trade-offs between aperture, shutter speed, and ISO. Just because a high ISO generates a bit of noise doesn’t always mean you have to avoid it.
Yes, you want the best image quality you can get in terms of noise, dynamic range, sharpness, and color. But modern camera design and noise reduction software let you use a higher ISO without sacrificing those things.
Remember, aperture and shutter speed are always more important than ISO when it comes to the artistic quality of an image.
Before you go, why not filter through all the cameras in our database to find the one that suits your needs!