Selective focus is a photography technique that draws the eye to your subject and avoids distractions.
It’s very useful in portrait and wildlife shots, where the subject’s more important than the surroundings. It’s less useful in landscape shots, where the photographer usually wants the whole scene to be sharp.
You can achieve selective focus by creating a shallow depth of field. There are several ways to control it. And our article will give you all the tools you need to do the job!
What Is Selective Focus in Photography?
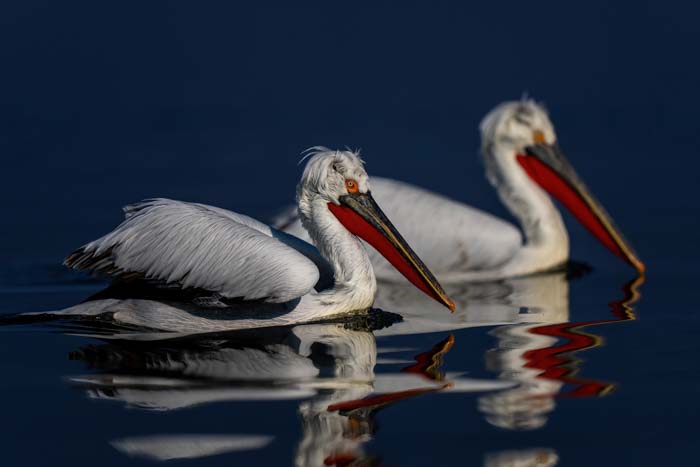
Selective focus helps to separate the subject from the background blur. The subject should be as sharp as possible. But the foreground and background should be blurred.
The human eye is attracted to things in sharp focus. So this is a good way to keep attention on your subject and avoid distractions.
The key metric here is the depth of field. This is the amount of the scene from front to back that’s “acceptably sharp.” Roughly a third of the scene will be in front of your subject and two-thirds behind it.
How Do You Achieve Selective Focus?
You can achieve a shallow depth of field in five different ways. You can use the links to jump to each section:
- Choose a wider aperture like f/2.8
- Use a longer focal length like a 300mm telephoto lens
- Get closer to your subject, say a few yards or meters
- Keep the background far away (and shoot at eye level)
- Blur the foreground
Note that sensor size doesn’t affect the depth of field. It would be the same if you compared a crop sensor and a full frame camera at the same focal length, aperture, and subject distance.
But the framing would be different because the smaller sensor means the crop sensor camera is “zooming in.” The only way to change what’s in focus is to change the focal length or the distance from the subject.
So the framing is the same. In this case, the shot taken with the crop sensor camera would have a greater depth of field.

How blurred you want the foreground or background to be is a matter of personal taste. Sometimes, you want to leave a bit of detail so the viewer can get an idea of what it is.
For example, if mountains are in the distance, you might want people to see snow-capped peaks rather than a hazy blur! That might mean playing around with your camera settings or changing position.
Check the Depth of Field Effect on Your Camera
There are different ways to check the effect on the image, depending on what kind of camera you have.
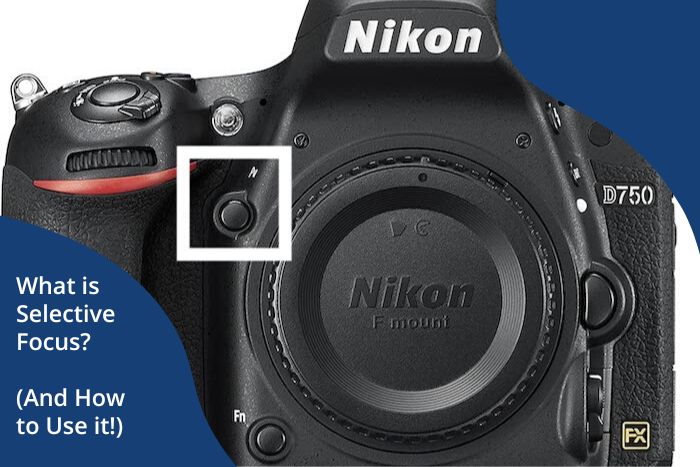
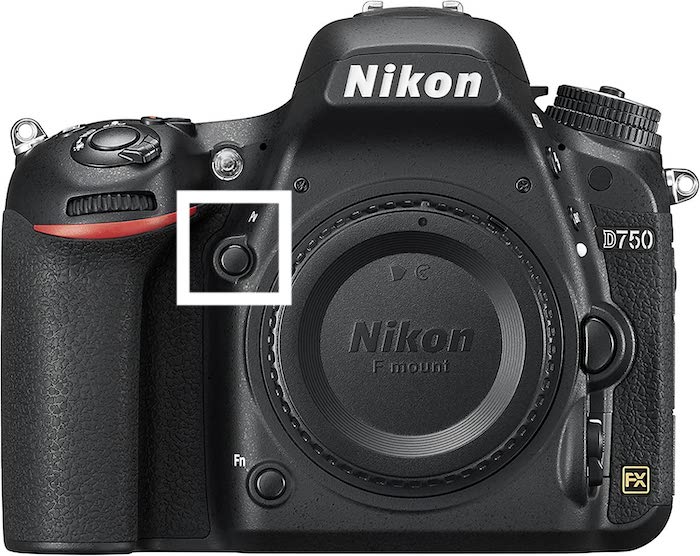
If you own a DSLR that has it, you can press the depth-of-field preview button (Pv). This is usually on the front of the body on the right-hand side, next to the side of the lens.
It closes the aperture to the one you’ve chosen. And it helps you see what’s in sharp focus and what’s not (unless you’re already shooting wide open).
The view in the optical viewfinder will get a bit darker as less light is coming in. But that’s usually not a problem (unless you’re taking pictures at night!).
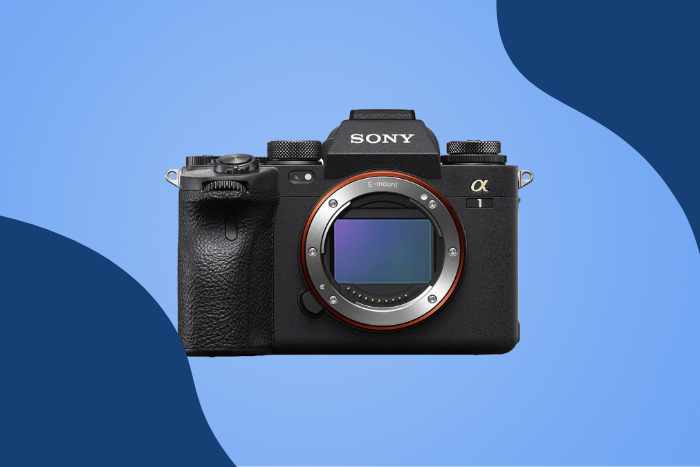
If you have a mirrorless camera or superzoom, the electronic viewfinder and rear display show you what will be in focus. That’s because mirrorless cameras have what they call WYSIWYG displays.
That stands for “what you see is what you get.” It means you get a preview of what the shot will actually look like rather than what you’d see with the naked eye.
Whatever kind of camera you have, you can always take one or two test shots and look at them on the rear display. Zooming in to 100% will give you a better idea of how sharp the details are.
Various smartphone apps tell you the depth of field you get for a given camera, lens, and subject distance. I use a free one called SetMyCamera.
It’s easy to use. And it provides lots of information, including the depth of field and where it starts and ends.
For example, I can input a 50mm lens at f/4 from 25 ft (7.62 m). SetMyCamera says that my depth of field will be 20.86 ft (6.36 m). It will start at 18.35 ft (5.59 m) and extend to 39.21 ft (11.95 m).
5 Ways to Achieve Selective Focus in Photos
Let’s go through the different ways to achieve selective focus in detail.
1. Choose a Wider Aperture to Reduce the Depth of Field
The most obvious way of creating selective focus is to use a wide aperture, like f/2. With the same lens and distance from the subject above, this would reduce your depth of field from 20.86 ft (6.36 m) to 9.37 ft (2.86 m).
To change the aperture like this, you must ensure you’re in the correct exposure mode. This isn’t possible in any automatic, scene, or program modes. You must be in Manual or Aperture Priority mode.
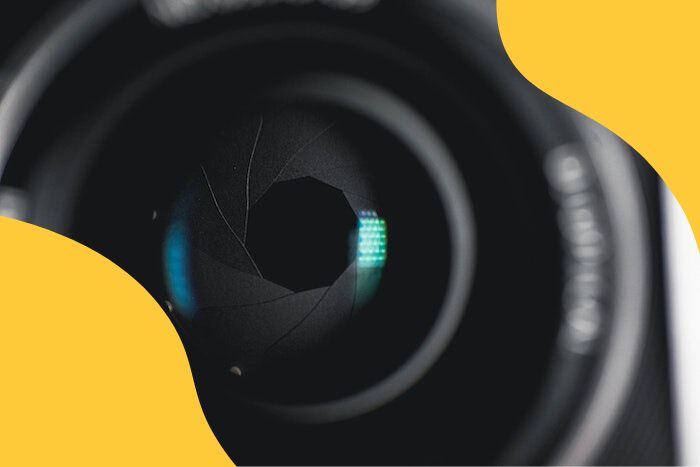
In either of those modes, you can manually select which aperture you want your camera to use. Only your lens choice limits it. Every lens has a maximum aperture. So you can’t get wider than that.

Standard primes, like a 50mm f/1.2, are usually the “fastest.” This means they have the widest apertures that let in the most light.
Wide-angle lenses typically go down to f/2.8. But telephoto lenses can usually only manage f/5.6 (unless they’re big and expensive!).
Zoom lenses tend to have a wider maximum aperture than primes. The other problem is that the limit often changes. That means an 80-400mm lens might be able to shoot at f/2.8 at 80mm but only at f/5.6 at 400mm!
If you zoom in and out again, Nikon cameras automatically return to the original setting. But Canon cameras don’t. So you need to bear that in mind.
2. Use a Longer Focal Length to Create Selective Focus
Another easy way to create selective focus is to use a longer focal length. At the same aperture and subject distance as before, going from 50mm to 100mm would reduce your depth of field from 20.86 ft (6.36 m) to 4.54 ft (1.38 m).
Note that it’s the focal length we’re talking about here. It doesn’t matter how physically long your lens is or what the overall zoom range is.
One of the reasons portrait photographers like an 85mm (or longer) focal length? It’s easier to create selective focus than with a shorter lens, like a 50mm.
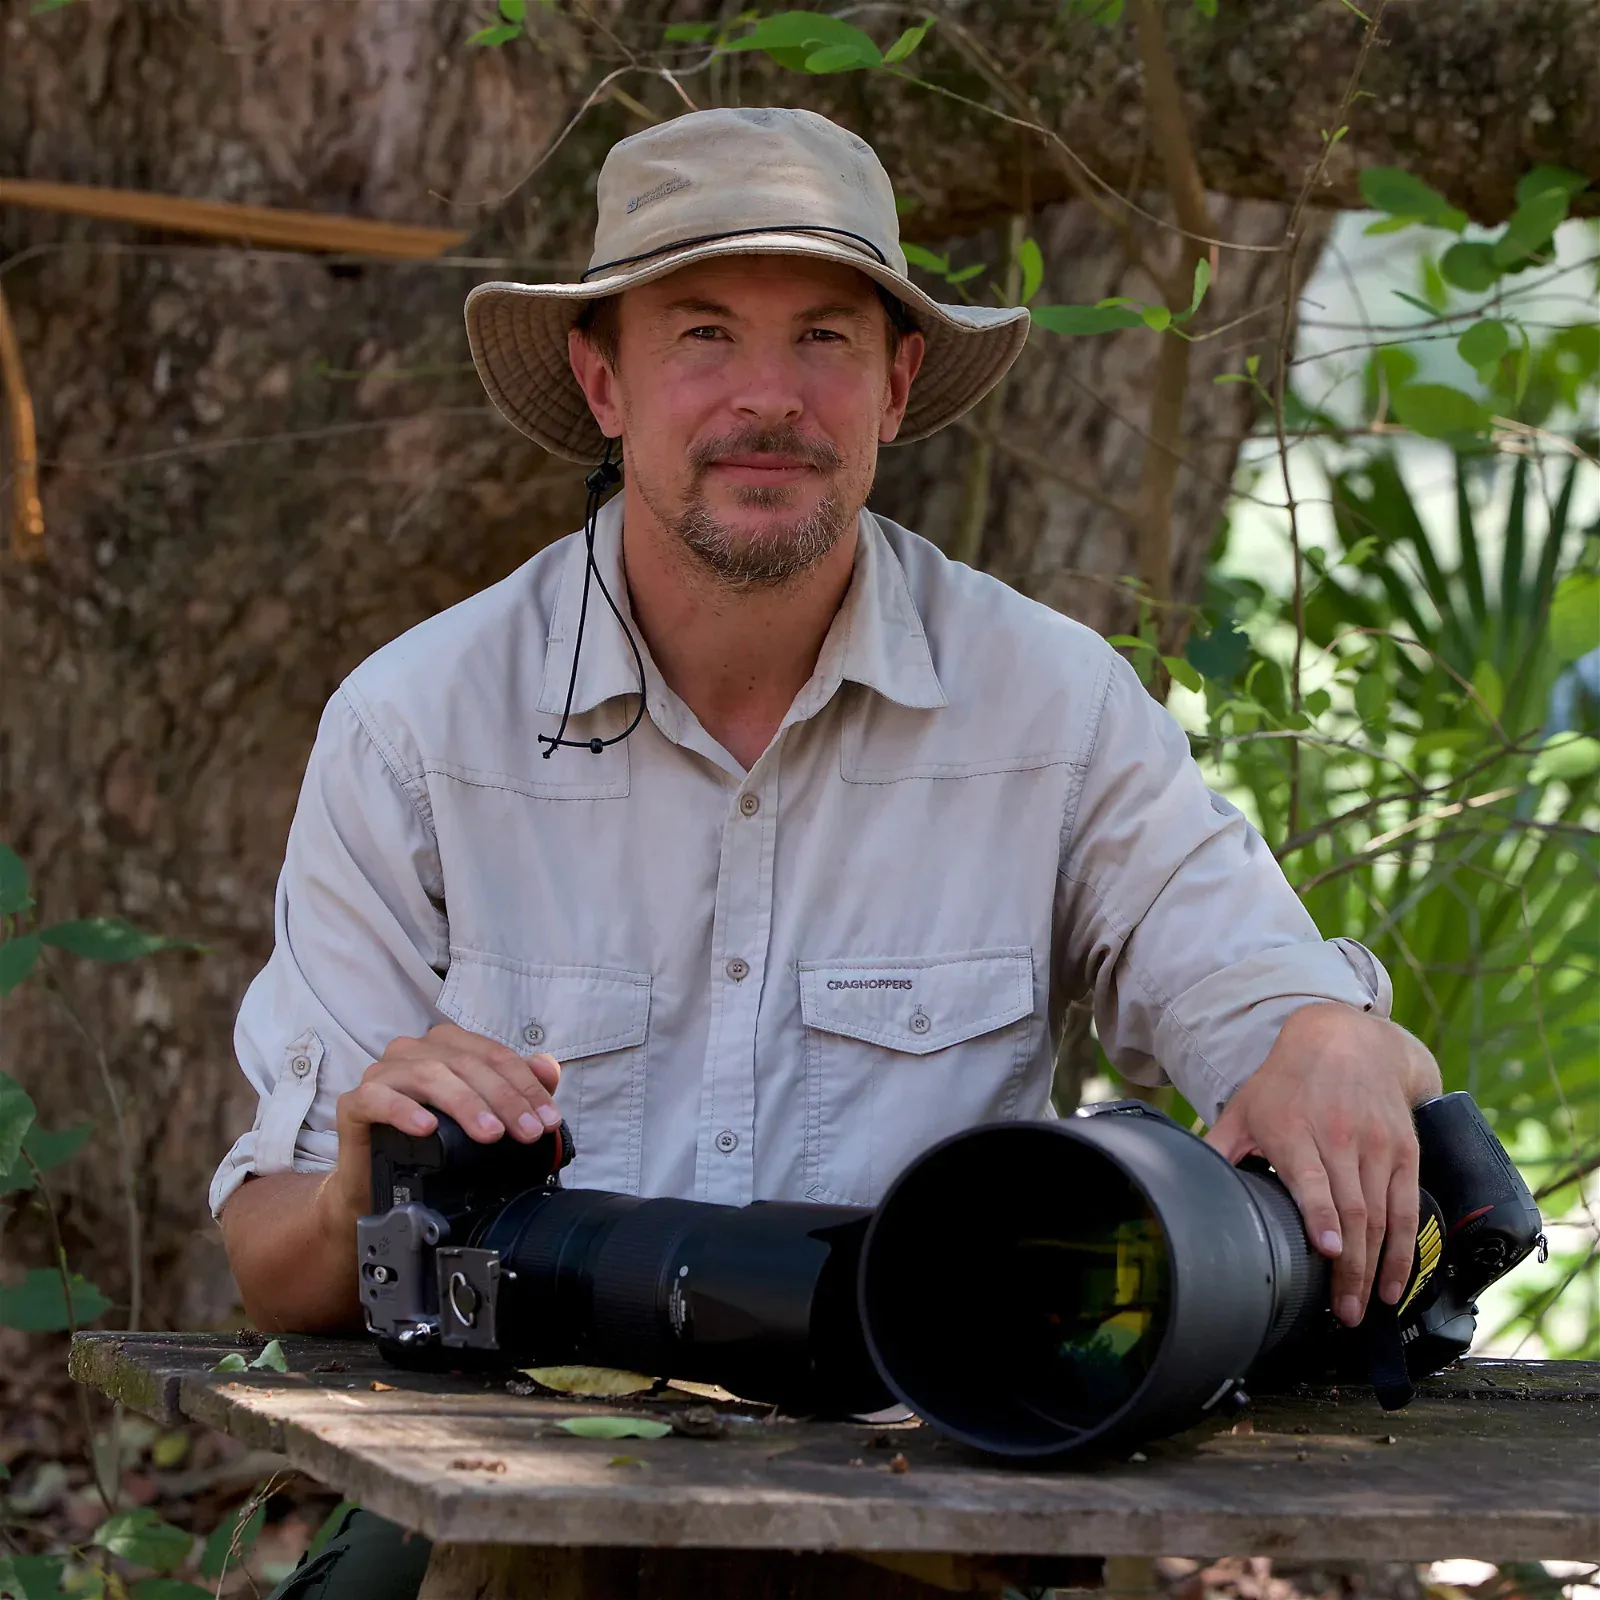
I’m a wildlife photographer, but I do the same when using my 400mm or 600mm lens. But a landscape photographer would probably use a wide-angle lens to keep as much of the scene as possible in sharp focus.
3. Get Closer to Your Subject to Separate Subject from Background
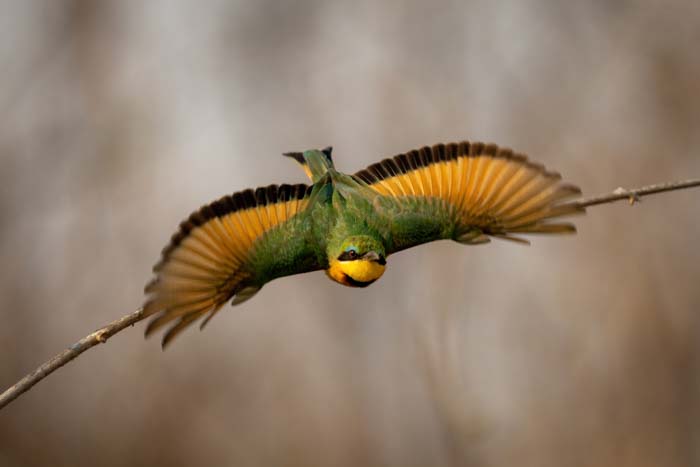
The third way to achieve selective focus is to get closer to your subject. Again, the only limitation is your choice of lens. Each lens has a minimum focus distance. So you can’t get it to focus on subjects closer than that!
Using my earlier example, reducing the distance from 25 to 12 ft would reduce the depth of field from 20.86 ft (6.36 m) to 4.27 ft (1.30 m).
Of course, getting closer to your subject is easier in the studio than in the African savannah! But it’s important to remember that you’re not tied to one spot.
You can move closer to reduce the depth of field and create separation between your subject and the background.

4. Keep the Background Far Away to Keep It Blurred
Another thing you can do to achieve selective focus has nothing to do with getting a shallow depth of field.
By ensuring the background is as far away as possible, you don’t change the distance at which things become blurred. You simply ensure nothing is within that “acceptably sharp” zone called the depth of field.
For example, using our original set-up, anything from 18.35 ft (5.59 m) to 39.21 ft (11.95 m) would be within the depth of field. That means grass, trees, or bushes within that zone would be “acceptably sharp.”
If you want to achieve selective focus, you don’t want that. So you have to do something to alter the composition. That probably means changing position or framing the shot differently, so nothing nearby is in the way.
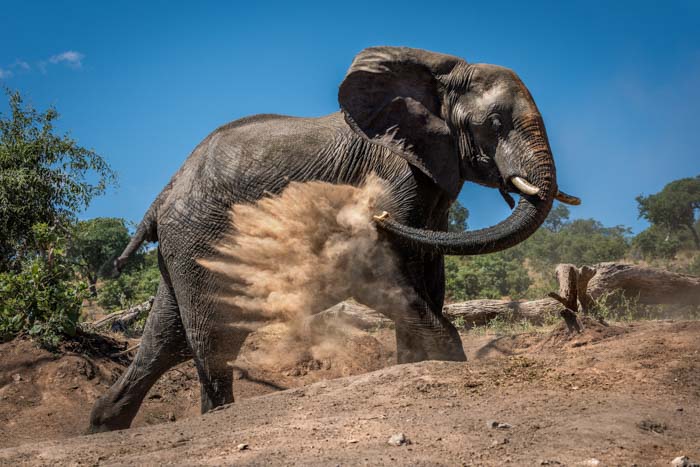
This is one reason shooting at eye level is important in wildlife photography. Most animals aren’t as tall as humans (besides the obvious ones like elephants and giraffes!). So you generally have to get down low to reach eye level.
In doing so, you also change the angle of the light from your subject so it’s roughly horizontal. That means the background won’t be the focused patch of ground just behind the animal but a blurred treeline or mountain.
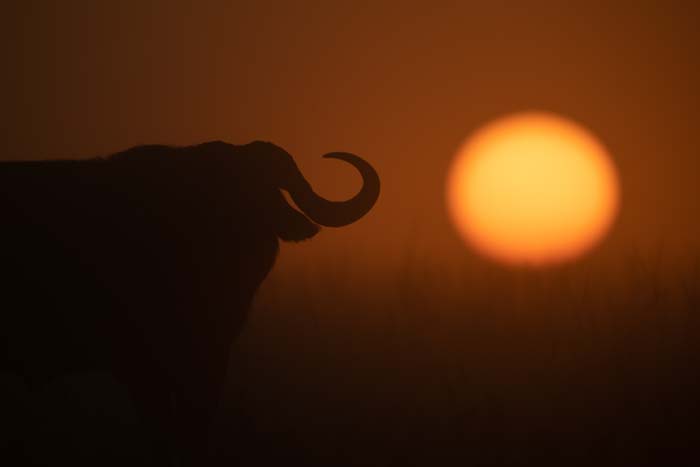
5. Blur the Foreground to Create Contrast
Finally, another way to create selective focus is by blurring the foreground.
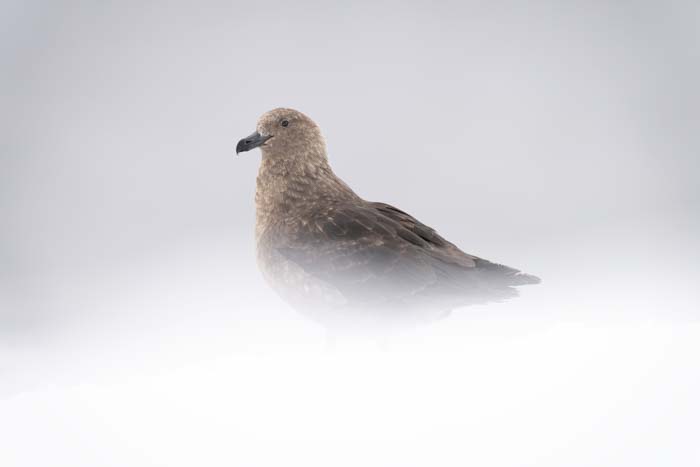
To get a bit “arty,” you can blur the foreground by shooting through things. For example, grass or just over a snowbank, say. Because the foreground is so close, it’ll be nicely blurred.
Portraits don’t often have anything in the foreground. So there isn’t any blurred area to contrast with the sharpness of the subject. But deliberately shooting through long grass or just over a snow bank can create a blurred foreground.
The key is to ensure the foreground objects are close enough to be out of focus and not confuse the camera’s autofocus (AF) system.
If you do it right, you can even get the foreground to overlap your subject, hiding its legs. It can make it look as if your subject appears from nowhere!
What’s Next?
Achieving selective focus or shallow depth of field is a good way to separate a subject in sharp focus from a blurred background. You can get a shallow depth of field by choosing a wider aperture or a longer focal length.
Or you can get closer to your subject. You can also get down low to push the background further away or include a blurred foreground to contrast with the sharp subject.
You need to practice all these methods to create background blur. But the depth-of-field preview button (on DSLRs) or the WYSIWYG displays (on a mirrorless camera) will help you measure the impact of any changes.
You can also work out the depth of field using a free smartphone app. Or you can take a few test shots to make sure you get the effect you’re looking for.
Now that you’ve learned about using selective focus, try our articles on the best time to take photos outside or camera memory card types next!

