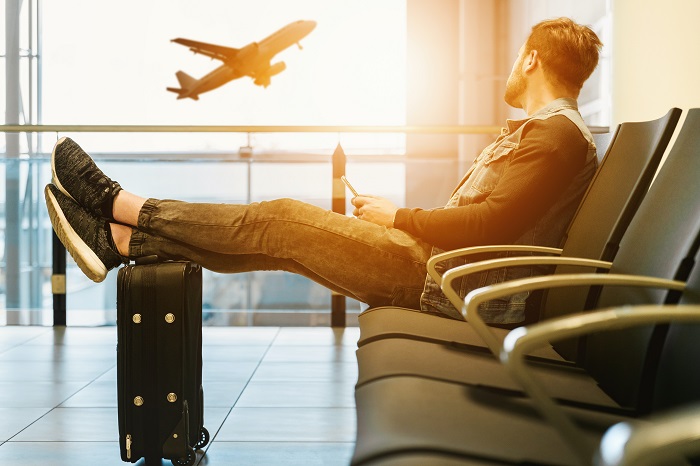
Our article takes you through some basic travel photography tips to take your best travel photos. If the travel bug bites you, and you want to capture your adventures with photography, this is the guide to bookmark.
We’ll cover planning, camera equipment, shooting techniques, taking portraits, and more. So whether you’re a beginner or an experienced photographer, there’s something for everyone here. So, let’s get started!
So many of us enjoy traveling and taking countless travel photos on our trips. That’s because travel photography is a means of preserving our travel memories.
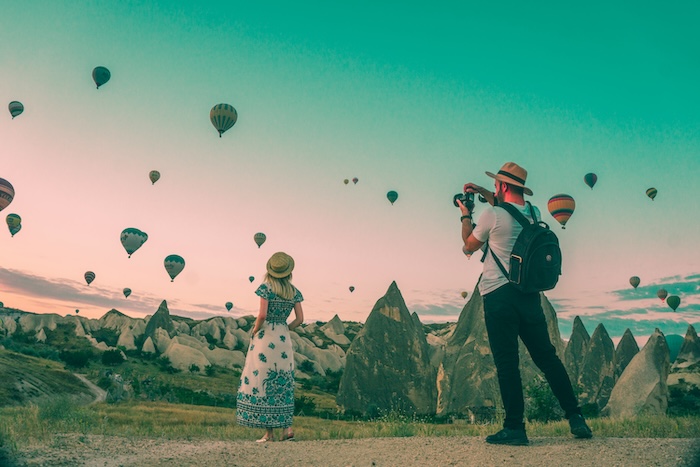
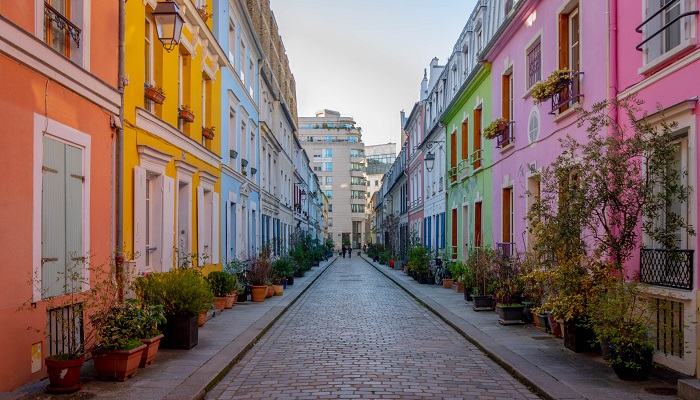
Travel photos also have the potential to connect us to our beautiful world. Good travel photos evoke emotions, transporting viewers to the heart of our journey. They can be vibrant street scenes, breathtaking landscapes, intimate portraits, or cultural details.
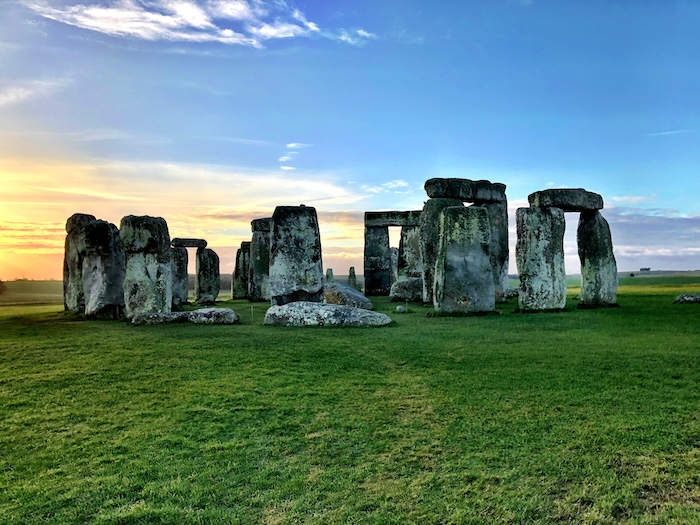
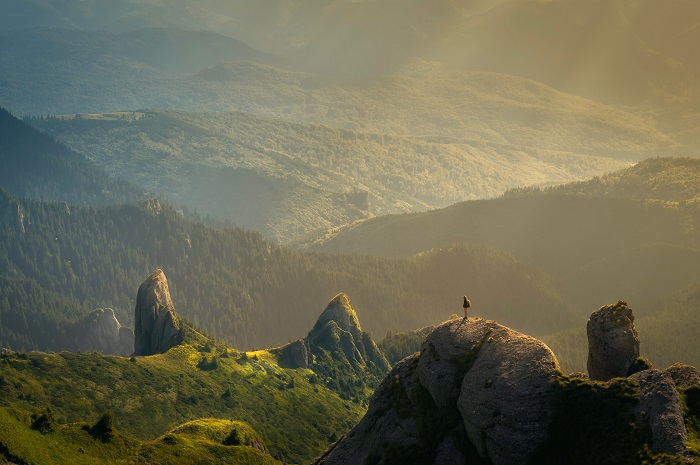
Images of places, events, art, and even food can transport us back to a magical place we once explored and experienced. Nothing is better than reliving a magical sunset, a mountain summit, or beautiful architecture months or years later!
With that in mind, these 20 travel photography tips will help you bring your photos to the next level!
Most photographers have moved on from DSLRs to mirrorless versions. The smaller size and lesser weight are the obvious appeal here. There are many lightweight travel cameras if you’re looking for one.
An ultra-wide angle focal length like the Canon RF 15-35mm f/4 IS USM works well for travel photography. Or zooms like the Sigma 24-70mm f/2.8 Art lens and a 70-200mm works well.
A fast lens is ideal. But I don’t usually photograph at an aperture lower than f/4 or f/5.6, especially when photographing landscapes.
More often than not, I have more than one subject in the scene. And I usually want to capture some of the background to provide context to the shot.
I was in Rome for three days this past summer. But I couldn’t capture the famous Spanish Steps without people, no matter what time of day I tried.
So, instead, I chose to embrace the crowds and showcase this famous monument as the tourist attraction it is. I used a wide-angle lens to showcase the people and the structure to tell the story of the popularity of a famous travel landmark.

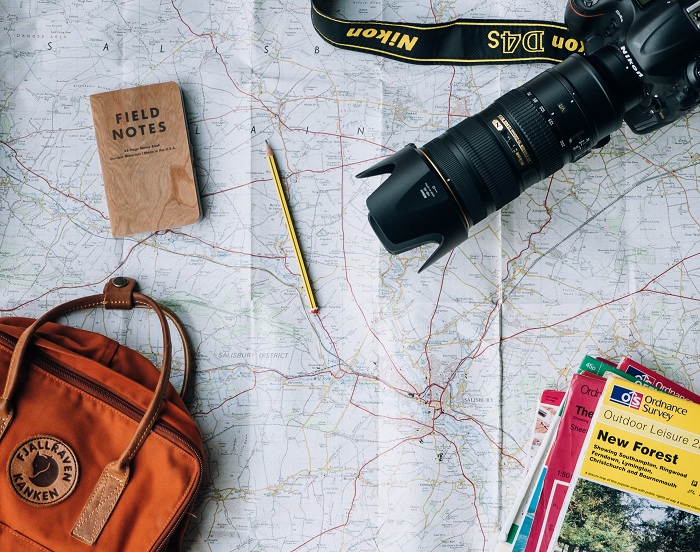
People are usually astonished at how little I carry with me each day. My basic equipment on any trip involves a couple of lenses (24-70mm and 70-200mm). A spare mirrorless camera and some filters (polarizing filter, ND, and graduated ND filters).
I only bring a tripod when I know I’ll use it, a flash, and a load of memory cards and batteries. If I need other specific equipment (a macro lens, for example), I will add that to the things I take. But this is all I take with me for most of my shoots.
Packing for any travel is an art in itself, especially if you are going away for an extended period. Travel photography requires a different mindset than wildlife or portrait photography with gear.
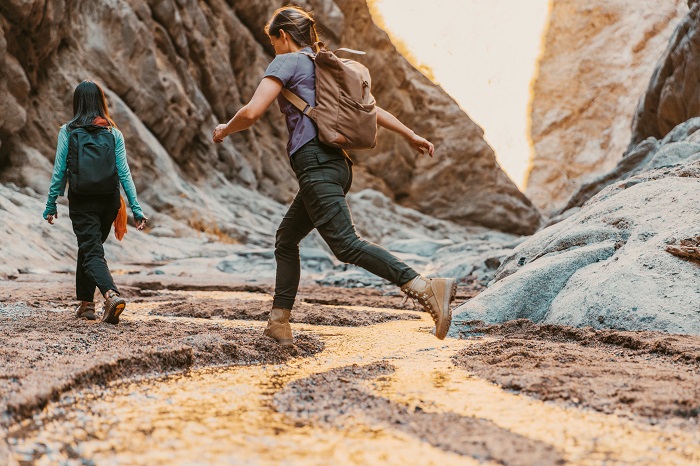
Travel photography often involves being out and about all day. And you spend a lot of time walking. That means carrying your gear around the whole day.
On any day, while on a travel photoshoot, I walk anywhere between 15 to 30 km. So, weight is an issue when it comes to travel photography.
Aim to carry only two lenses. It’s also great to have a lightweight backpack and light travel tripod. The last thing any travel photographer wants to do is carry around 44 lb (20 kg) of equipment, especially when you won’t use any of it at all.
Carrying equipment you don’t need saps your energy, making you less inclined to push yourself when tired. Who would want to walk up that long flight of stairs with a pack that weighs 55 lb (25 kg)?
Do you carry everything with you all day? No. Decide the specific photos you will take that day, then choose the necessary equipment.
Maybe you’ll be visiting several places in a short period. If so, you probably don’t want to carry all your lenses and cameras because of the weight and time restrictions. Leave unnecessary equipment at your accommodation.
Always aim to head out with as little as you need. Avoid carrying equipment for the sake of it!
This is one of the basics of photography, no matter your genre. You should know your camera inside out. When you are traveling and have strangers pose for you, that is not the time to try out different settings and fidget with your gear.
People begin to lose patience and often get suspicious of you and your ability to take a good picture. They are likelier to walk away rather than waste their time with a stranger who does not know how to operate their camera.
Along the same lines, don’t take that new lens out for a spin when you are on the travel experience of a lifetime. It’s best to test it beforehand to know how to use it best.
Good travel photos impact viewers because they capture fleeting moments tourists might miss. But these moments don’t last longer than a few seconds.
Unless you know your camera completely and can switch settings instantly, you might miss them. This is one of the biggest beginner photography mistakes and one of the easiest to remedy.
The only way to get to a point where the camera becomes an extension of your arm is to practice. The more you take pictures, the better and quicker you will evaluate the scenario and change settings.
It’s best to get efficient enough to subconsciously change and tweak settings in seconds. Only then will you capture those fleeting moments.
Take the time to research the locations, customs, and photography norms of the place you will visit. Find out as much as you can about your travel destination.
And don’t just rely on travel books, like Lonely Planet, and websites. Having a real conversation with someone from the area when you get there is much more helpful than any book out there.
Remember, customs vary not only by country but by region and religion. Understand and appreciate the diverse cultural context and respect these differences.
A little research before your journey goes a long way. It helps avoid disappointment or despair if photo restrictions exist at your destination.
Good trip planning allows your photography to flow. Failure to do this will mean wasting time organizing things on the ground.
Travel photography research aims to put together a detailed shot list. This will be your checklist to work through to ensure you return with a good variety of photos.
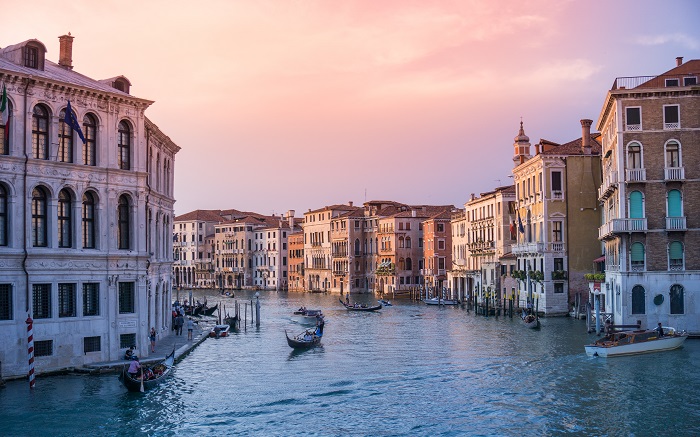
Your shot list will vary depending on where you’re going and any potential brief you must follow. For example, maybe you’re photographing the Venice carnival. Your shot list for this will differ if you photograph Venice without the carnival.
How you set out your shot list will depend on how active you want to be. But it’s also about what you’re photographing and where.
It’s best to allow more time to travel to different locations in a big city. And ensure you also factor in tourist sights’ opening and closing times.
One of the best ways to set your shot list out is to break the day down into four different time segments:
The hours might change depending on your destination and time of year. But breaking down the day can help you be more efficient with your time.
Also, break down your shot list by location. Plan to cover places that are geographically close during each time segment. This means you won’t waste your time traveling rather than taking photos. A final shot list should show exactly where you will be and when.
After some planning, you’ll need to hone your craft. Does that mean jumping in at the deep end and booking your flight to a far-flung destination? In a word, no.
There are sensible steps you can take before you hit the road. Think of it as the equivalent of a professional sports player practicing before going out to perform in a big match.
The best advice is to start local and build up. The area where you live will almost certainly have photography opportunities, so start there. Day trips, particularly weekend trips, will also help prepare you.
The photographic techniques you need for travel photography are the same for getting good photos in your local area. The following are the types of photography you should be practicing in your neighborhood:
Travel photography can quickly become expensive. If you aim to pursue travel photography as a career, as mentioned, practicing in your local area is the first step.
Beyond that, you must learn to live on a modest budget but still use enough money to pay for that big-ticket photo.
After you’ve photographed your town a few times, up the ante with some day and weekend trips. Short trips get you familiar with the process of learning about a new place. You have to learn about places quickly to get good photos of them.
You’ll also be doing a lot of walking as a travel photographer. Use local transport as much as possible, and avoid staying in a five-star hotel bubble to stay on budget. These also offer a better glimpse into the local culture and lifestyle.
A famous quote is, “We travel not to escape life, but so that life does not escape us.” This hits the nail on the head for me. Be real about why you travel and what you want to gain out of each travel experience.
If you travel to a marketplace and want a sense of local lifestyles and customs, look for naturally occurring scenes. Don’t look for people you can pose or stage to get your shot. Those travel images are not true to your experiences.
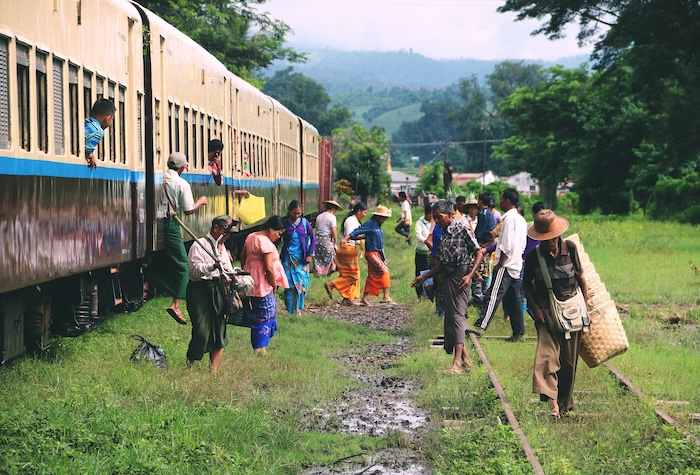
The photo below is by no means a perfect shot. But I love that it shows how rustic transportation choices can be in smaller villages and towns in some countries. It makes for an interesting travel photo to share with friends and family.
Life is happening all around you all the time. People interact with each other. People interact with nature. Nature puts on a grand show during sunrise, sunset, or thunderstorms.
But don’t wait for a preconceived notion of the perfect moment to take your camera out and shoot travel photos.
At the same time, don’t see the world simply through your viewfinder. Observe the scene, anticipate the shot that you want to get, and be ready. Don’t fire away at every situation only to get home and realize you missed the moment.
While traveling in India, I once found myself in the middle of a village festival ritual. I had no idea what was happening, but I knew I had to document it.
Luckily, a female photographer was somewhat of a rarity in this village. And I was given a special seat in the middle of all the action. It was fascinating to see and experience and, of course, take photos of.
Being present in every moment of every day is a life lesson we all can benefit from. It doesn’t just apply to travel photos. Great moments happen every day around us that are worth documenting, not just for our clients but also for ourselves.
Training your mind to live in the moment and not worry about all the other distractions will also help you really “see” what is around you.
More often than not, you likely travel with a very tight agenda and timeline. No sooner than you get to your destination, you are already mentally prepared to move on to the next stop.
Instead, try to plan a single excursion for a day and focus on learning and experiencing that place or activity before moving on. That way, you can take travel images that accurately reflect your experience.
Self-confidence, an open attitude, and a genuine smile are important wherever you travel. People around you will generally respond to you with the same attitude you show them.
One of the biggest reasons beginner travel photographers don’t capture great travel images is shyness. It could be shyness in approaching and photographing people, places, or even objects.
Watching people take out their smartphones and snap away without a care in the world is always fascinating. Give some of those people a digital camera, and they suddenly develop a fear that people will challenge them about taking their photos.
Most people will be flattered that you want to take their photographs. But even if they don’t want you to take their photo, what is the worst thing that could happen?
If you ask them, they may refuse. If you don’t ask, they might turn away or put a hand up in front of their face. Does that seem that bad?
You should not have any issues as long as you use common sense. For example, it isn’t advisable to photograph military personnel without asking. Or you shouldn’t take photos in places where photography is not allowed, like museums.
In some cultures, some people may not want to be photographed because of religious beliefs. But in all my years of working as a travel photographer, I have never encountered any problems.
To capture great travel images, you need to overcome any shyness. You must be willing to approach and photograph anyone or any situation that will enhance your collection of that destination.
Be open and honest about your need to photograph something or someone. More often than not, people will respond positively to you.
I have found that most people love to have their picture taken. If you are uncomfortable or nervous about something or someone, it’s best to leave the camera in your bag.
Almost everyone knows what a camera is and what it can do. Simple hand gestures and pointing to the camera are enough, even if you don’t know the language.
Not understanding the language should never be an excuse to photograph an unwilling person. As a photographer, asking for permission before you click the shutter rests solely on you.
If you have time, learn some simple phrases related to photography in the language of your destination country. This lets you communicate more directly with your subject, explaining why you want to take a photograph. It also shows your interest in the local culture.
Sometimes, you can use your camera as an ice-breaker. Take pictures of people and show them your photos of them. You will find that photography instantly becomes more fun and less intimidating. More than anything, respect that “no” really means “no.”
Yes, I understand that there is another school of thought on whether asking for permission will ruin the composition of an image. A lot of photographers will argue one way or the other.
But if you are taking a picture of a person, you should try to ask permission before or after.
I remember one instance when I was traveling in India with my kids. We were visiting a temple in Southern India, and for some reason, many teenagers started taking pictures of my five-year-old son. They would come up to us and take selfies with my son.
Initially, it seemed innocent enough, and my son posed with them. Soon, it was getting to the point of being creepy, and I had to refuse. As a parent, I was extremely uncomfortable with having strangers take pictures of my kids.
This experience taught me a very valuable lesson. Respect people’s personal space and personal preferences.
Perhaps one of the most controversial moments while traveling is whether to give money to people you photograph. Sometimes, uneducated, desperate tourists give money to get what they think is an award-winning travel photo.
Soon enough, it becomes a lucrative business in the local community. This can become uncomfortable and unsafe for other photographers who travel through the same places.
I prefer engaging people openly, sharing my story, and showing my need for a picture. In most cases, people are more than happy to share their stories and to be heard. I, too, walk away more culturally and emotionally enriched with the experience.
But if someone expects money for a photograph, the decision becomes less of whether to pay and more of whether to take the photo. That is a judgment call each of us needs to make on a case-by-case basis.
And remember to be mindful of the example we are setting for future travelers and photographers.
It’s a luxury to photograph in the best weather conditions, one not always enjoyed by travel photographers. So, learning to make the most of any weather is important to get meaningful photos.
Once again, you can practice this at home. How do you get great landscape photos on cloudy days or sunny days? Going to your local viewpoint and practicing for both scenarios will greatly help.
Plenty of photo opportunities when it rains can give you beautiful photos. Try your hand at some reflection photography once the rain stops.
Travel photography can be quite fast-paced. You are trying to capture a scene as it plays out before you. You don’t have the time or the opportunity to re-compose the shot and click the shutter.
But this does not mean you must fire away at your camera’s maximum frame rate and pick the best of the lot in post-processing.
Instead, use your technical and artistic skills to read the scene. Analyze the light, assess the right camera settings, imagine the outcome, anticipate the shot, and take the picture.
Not only will you improve your observation skills over time, but You will also improve your photography.
This will help you with your travel photography in the long run. Most people love to create travel photo books of their travel experiences. Having a good log or journal of your adventures will help you add detail and context to the images at a later stage.
If you are an aspiring travel blogger or want to submit your travel photos to a publication, these notes will be a lifesaver. Most magazines want as much detail as you can provide about a place, your travel experience, and your travel photos.
If a pen and paper are not readily available, you can even use the voice memo app on your phone to record an audio narrative of your experience.
As a travel photographer, this is one of my favorite tips to share… Take time to travel without obsessing over capturing every minute of every day with your camera.
Spend time to explore your surroundings without a camera. Your body and mind will thank you for it. Even if you are on assignment, add some downtime to your schedule.
Not only does it help you relax. But it also recharges those creative batteries when you return to your travel photography.
I hope these 17 travel photography tips were insightful and will help you achieve better photos on your next adventure. Like everything, becoming a great travel photographer takes time and practice. You must always improve your skills technically and creatively.
You have to work hard while on a trip, get by on little sleep, and overcome any shyness that you may have. Needless to say, a love for traveling and exploring new places is also a must.
Planning and patience will help you make the most of your travel photography. And you’ll come back with some incredible travel photos that document your incredible journey.
On the hunt for more great tips before your trip? We have great posts on safari photography, taking photos in fog, or cropping photos to check out next!